
Congee Ingredients:
1-2 cups white rice (short or medium grain), rinsed
1-2 cups raw, peeled, pumpkin or other hard squash, cut into bite-sized pieces
6-8 dried shiitake mushrooms, rinsed
1-2 T Better Than Bouillon (Vegetable base or No-Chicken base) optional
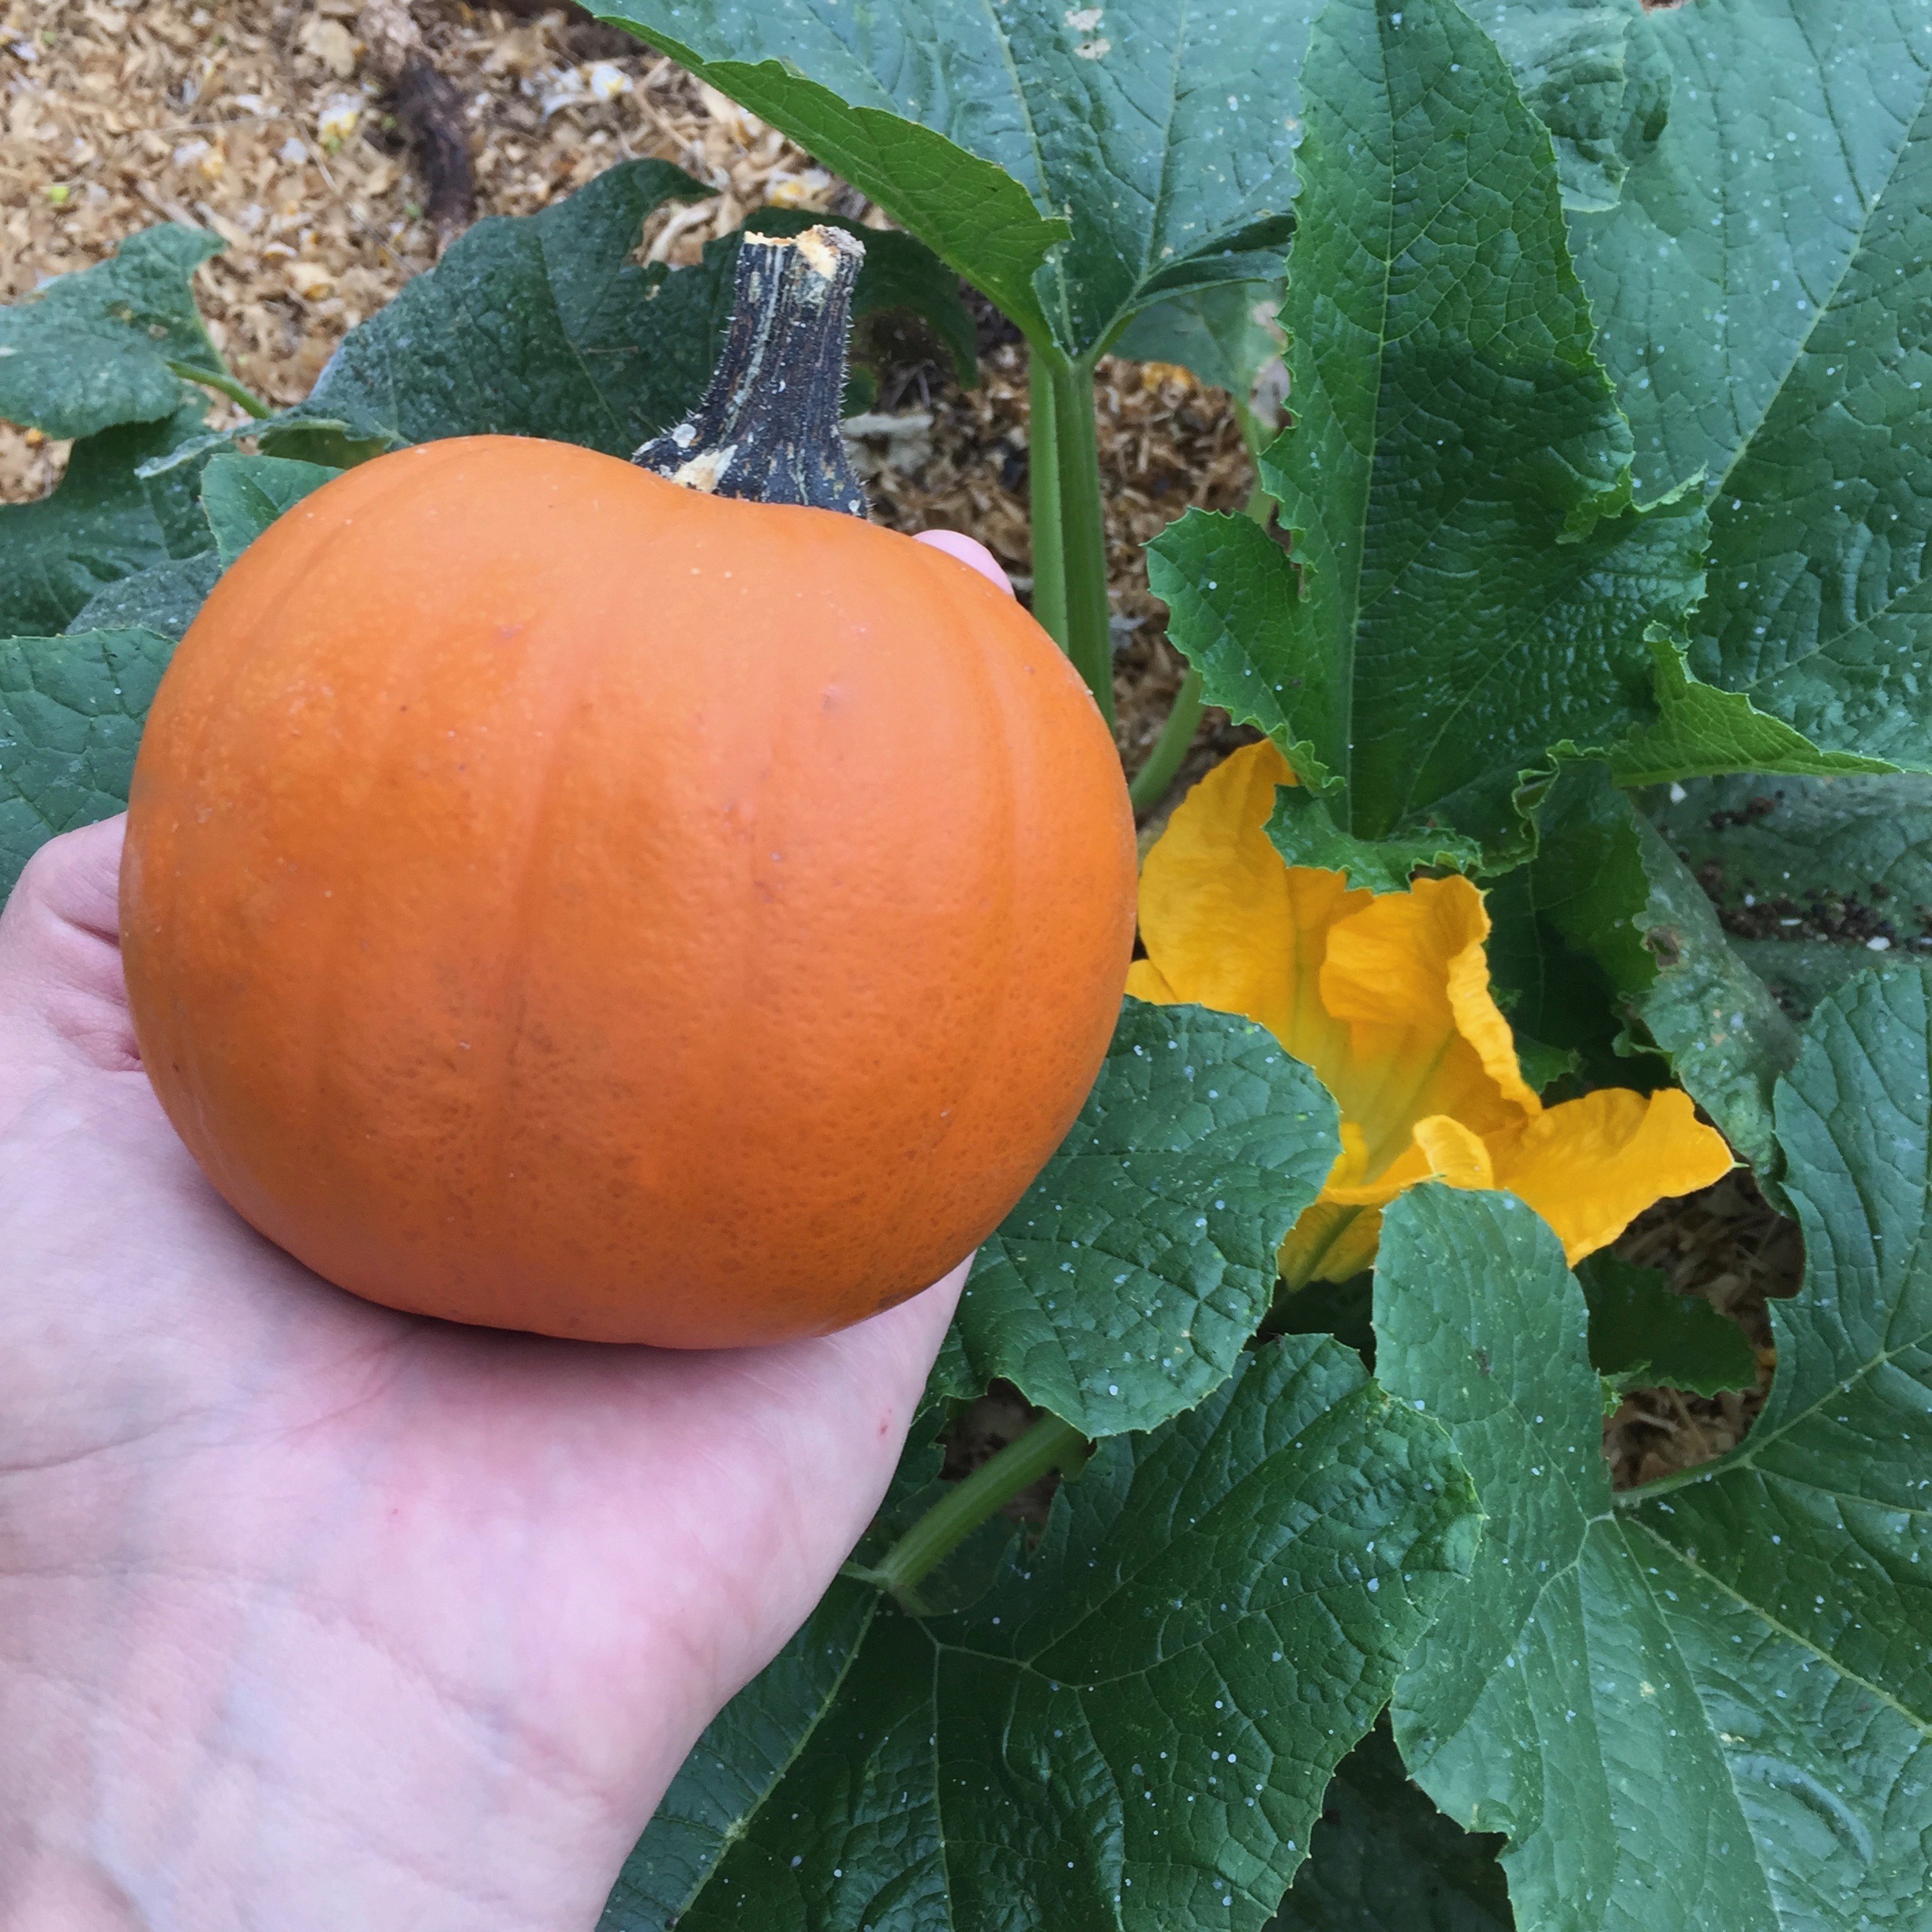
Sugar pumpkin aka baking pumpkin from my garden. I don't use the large jack-o-lantern pumpkins for cooking because they are stringy and lacking in flavor.
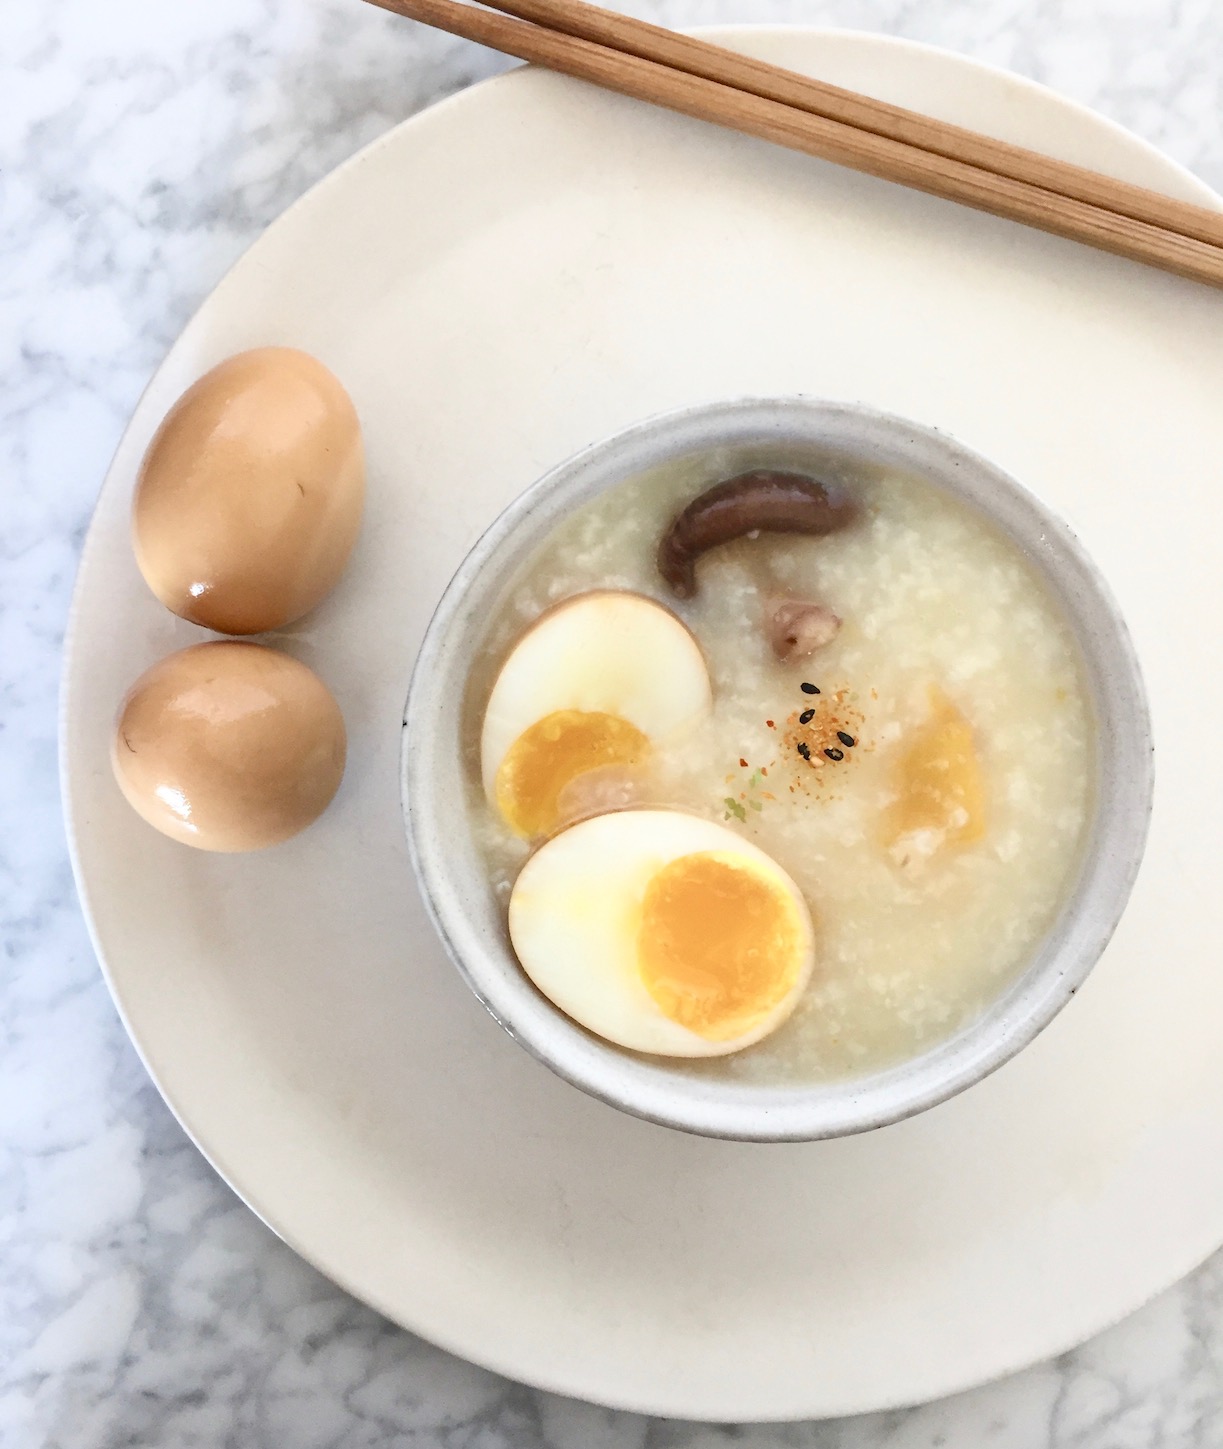
Virtually every culture has its own iteration of congee (pronounced CON jee). It's a simple and affordable rice porridge that can be enhanced with seasonings and toppings. Our rice congee is styled after those found in Chinese dim sum restaurants and homey Hong Kong cafes. Traditionally restaurants cook congee with thin strips of pork or chicken broth, but ours is a vegetarian version flavored with pumpkin and shiitake mushroom.
If you've never made congee, a good starting point is a 1:10 ratio. That is, 1 part rice to 10 parts water. Keep in mind this will make many more servings than a typical steamed rice ratio of 1:2, so be sure to use a large enough pot. I recently used 3 cups of rice in a 6-quart pot and it nearly overflowed.
The 1:10 ratio will yield a porridge of medium consistency. If you like soupy porridge, add several more cups of water. If you like it thick, reduce the amount of water you start with or cook longer to evaporate water. If you store it as leftovers, you'll find it congeals as it cools and may require more water when reheating.
You can cook the rice with plain water or use a flavored broth. If you've read my pantry list or seen my other recipes, you know I like using Better Than Bouillon Vegetable or No-Chicken Base. I only flavor the congee lightly during the cooking process because I like the bulk of the flavor to come from the toppings and seasonings added when serving.
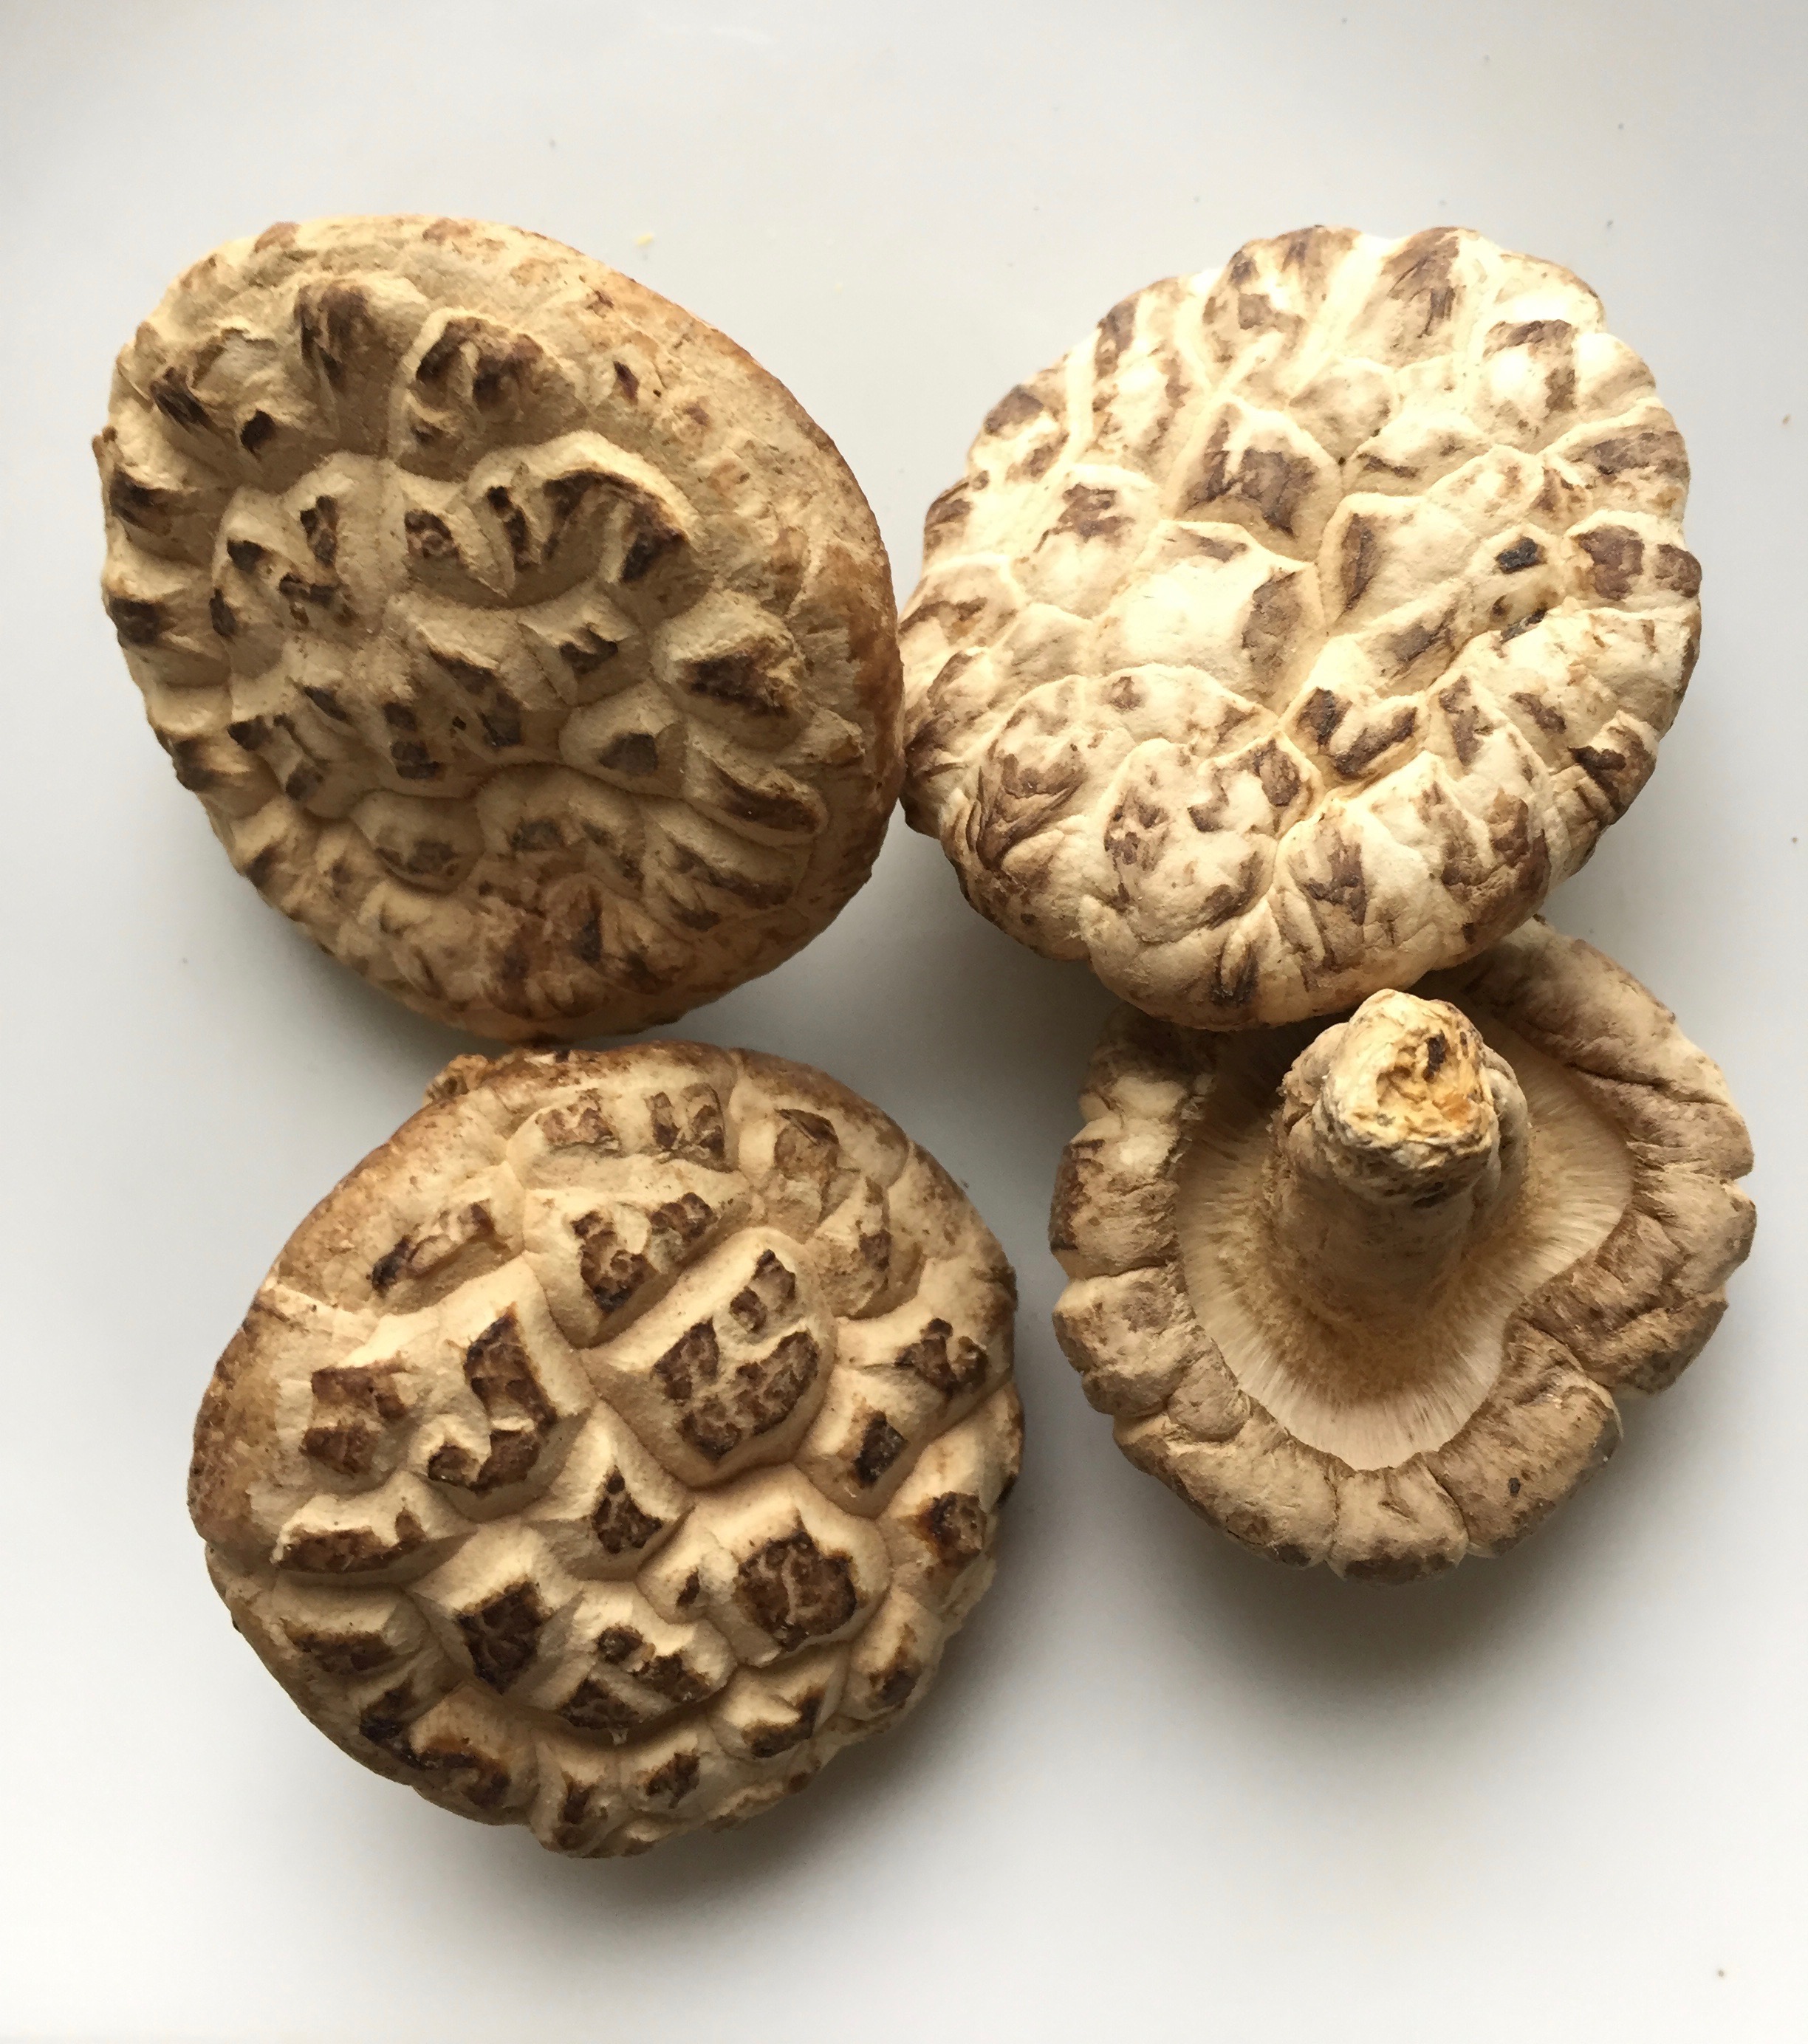
I typically make a large batch of congee using 2 cups of rice and 6-8 dried whole shiitake mushrooms. Start by simply boiling the water, rice, dried mushrooms, and optional seasoning. Simmer gently, placing a lid on the pot but leaving space for steam to escape. About halfway through cooking the congee add pumpkin pieces. If pumpkin isn't available, substitute with any hard squash like kabocha, acorn, butternut, or delicata (but not spaghetti squash).
Gently simmer the congee, stirring occasionally to prevent sticking... especially near the end. It's done when the grains of rice have disintegrated and you've adjusted water to your desired consistency. A "quick" small batch might take 60-75 minutes, but larger batches will easily take 1.5 to 2.5 hours.
Optional: Take your congee to the next level by simmering with a few slices of fresh ginger and white pepper.
When the congee is done the fun begins. The toppings. Or as we call them, "crunchy bits." Here are some ideas for seasonings and add-ins.
- Soy sauce - This is a traditional seasoning and might be all you use, especially if you're not feeling well and just looking for a simple and soothing congee.
- Sesame or chili oil
- Fried onions - Especially those crunchy salty onion strings that come in a can.
- "Crunchy bits" - We chop any combination of onion, garlic, jicama, water chestnuts, celery, and mushrooms and fry until very well done.
- Croutons or cruller (aka youtiao) - Crunchy or chewy fried bread. I like tossing bread cubes in a drizzle of melted butter then seasoning with garlic powder, salt, and pepper and frying until crispy.
- Roasted peanuts
- Stir-fried thin noodles or chow mein
- Preserved duck egg or preserved bean curd
- Preserved bamboo shoots or Chinese pickled vegetables
- Chopped green onion and/or fresh cilantro
- Fresh shredded or pickled ginger
- Vegetarian meats such as meatballs or crumbled veggie burger
- Although Asian congees are typically savory, a sweet porridge can be flavored with maple syrup, honey and raisins, coconut milk and mango, or sweetened condensed milk. This is a fun way to turn leftover congee into a sweet treat akin to rice pudding.
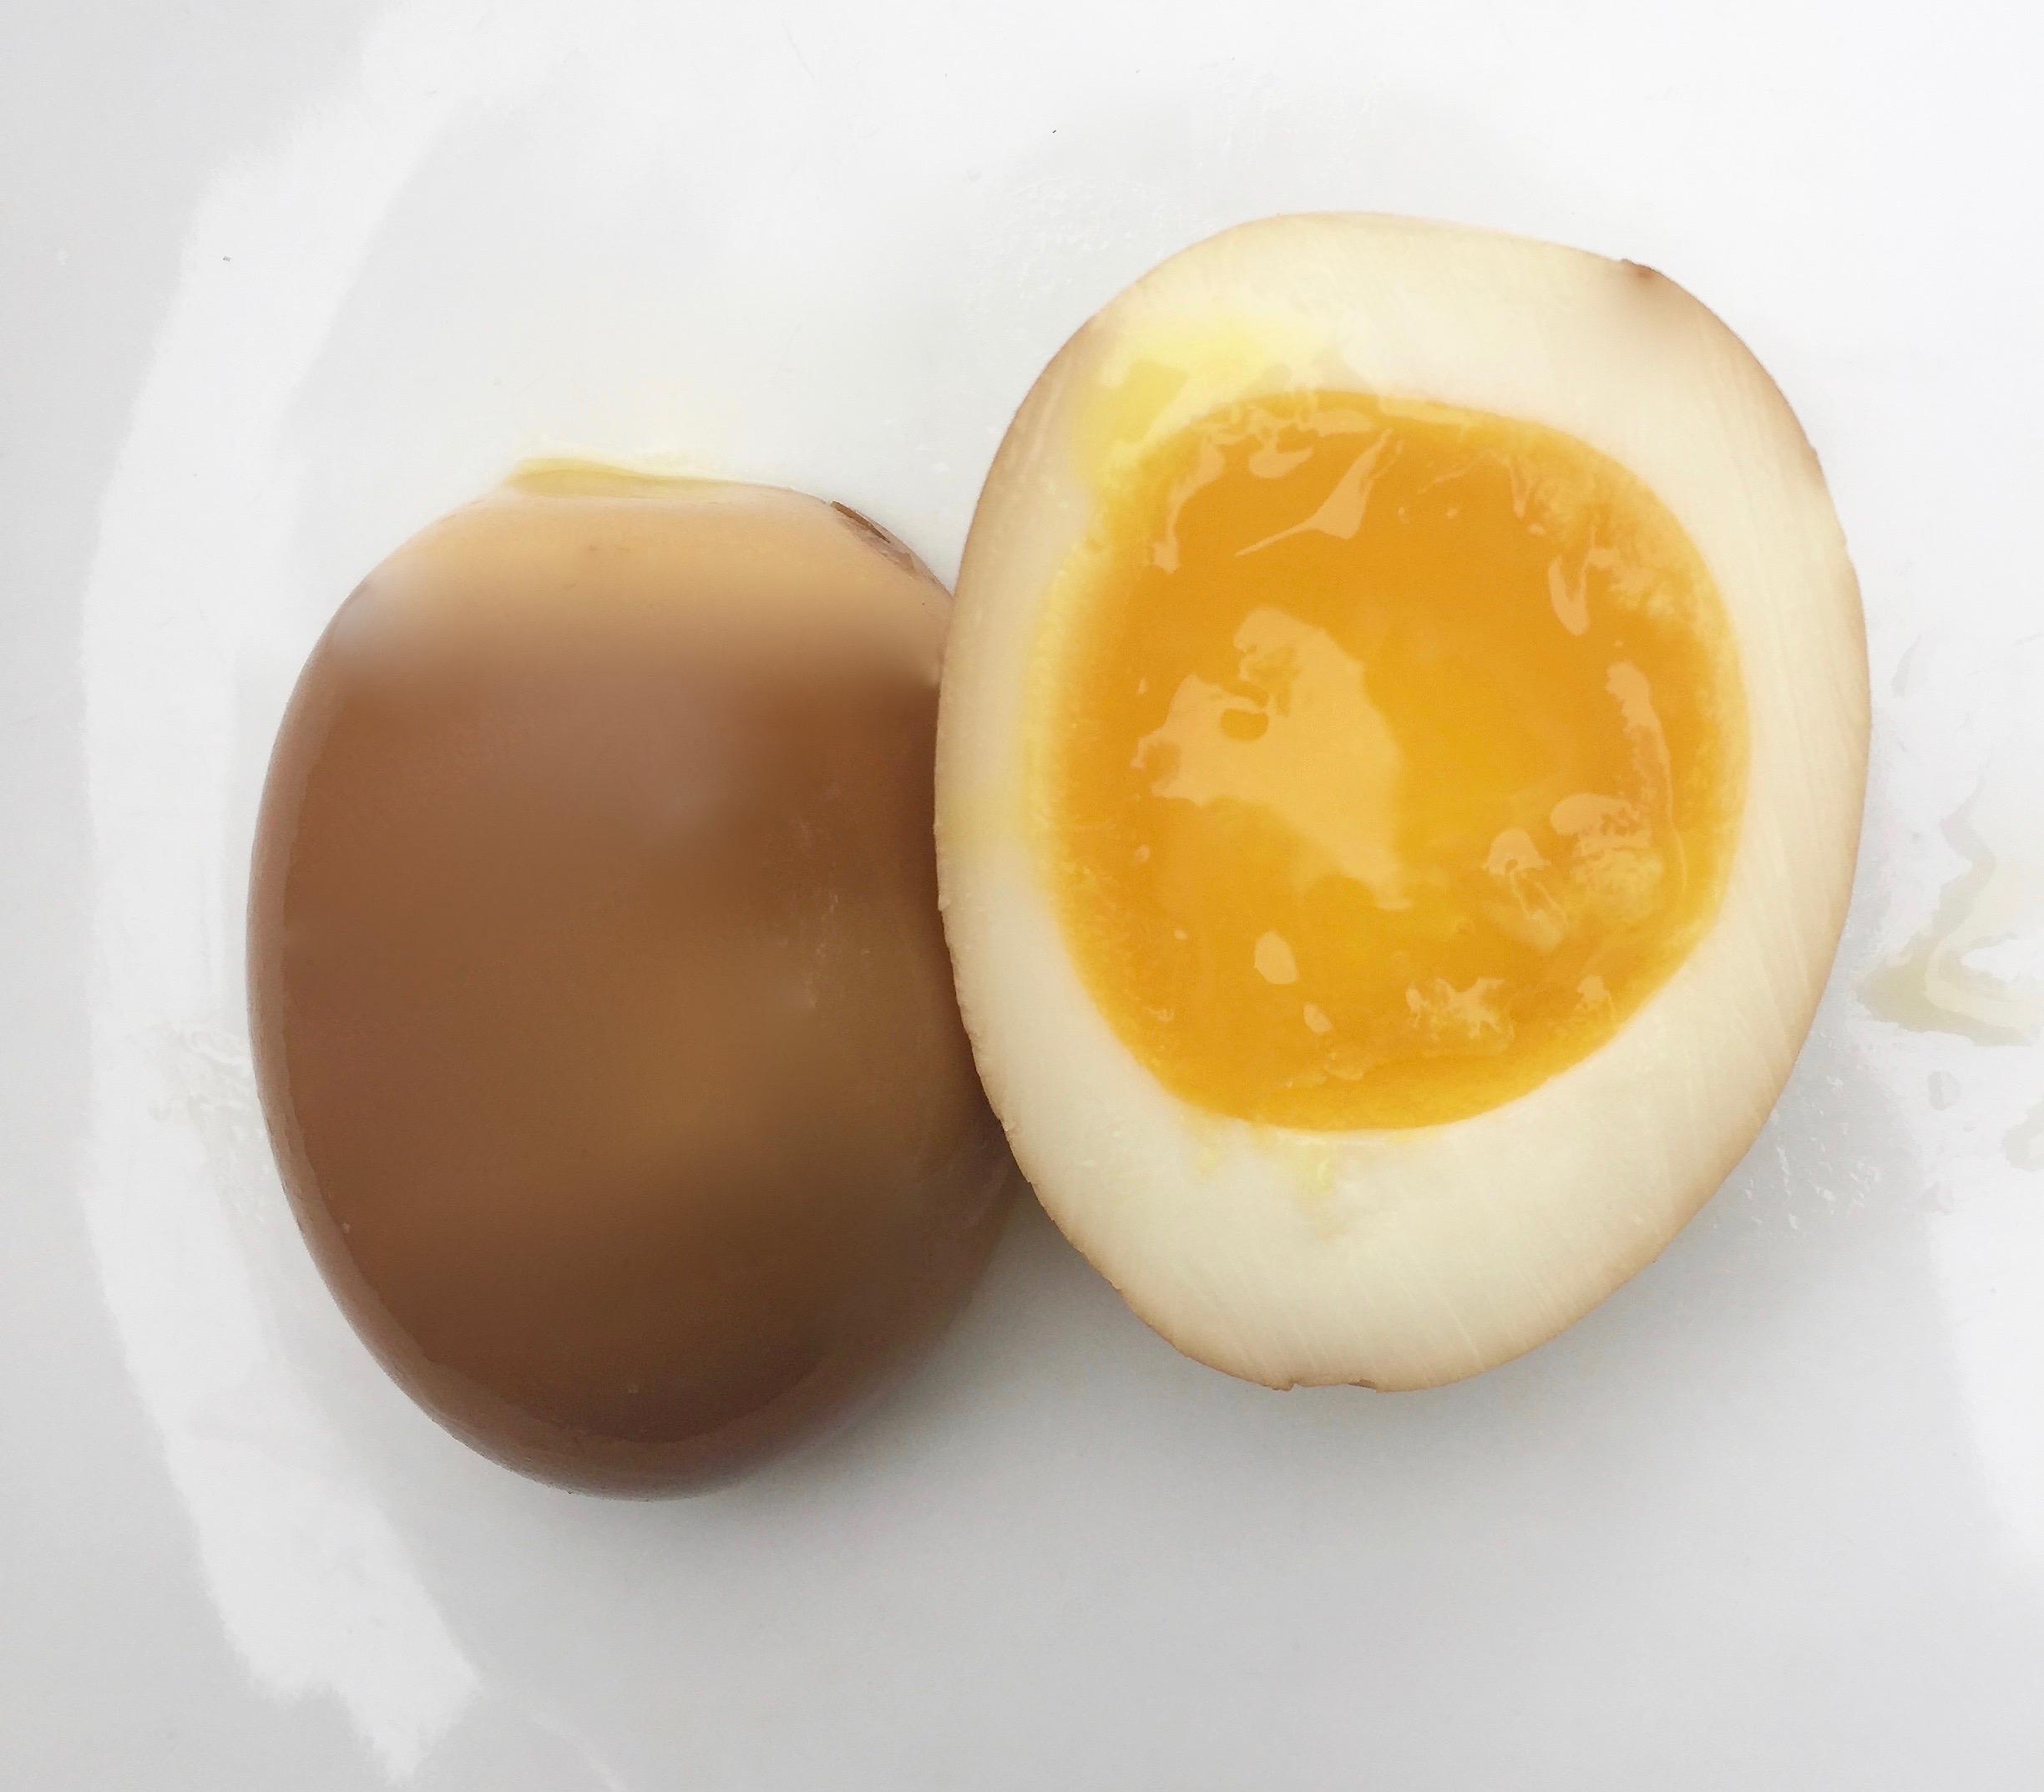
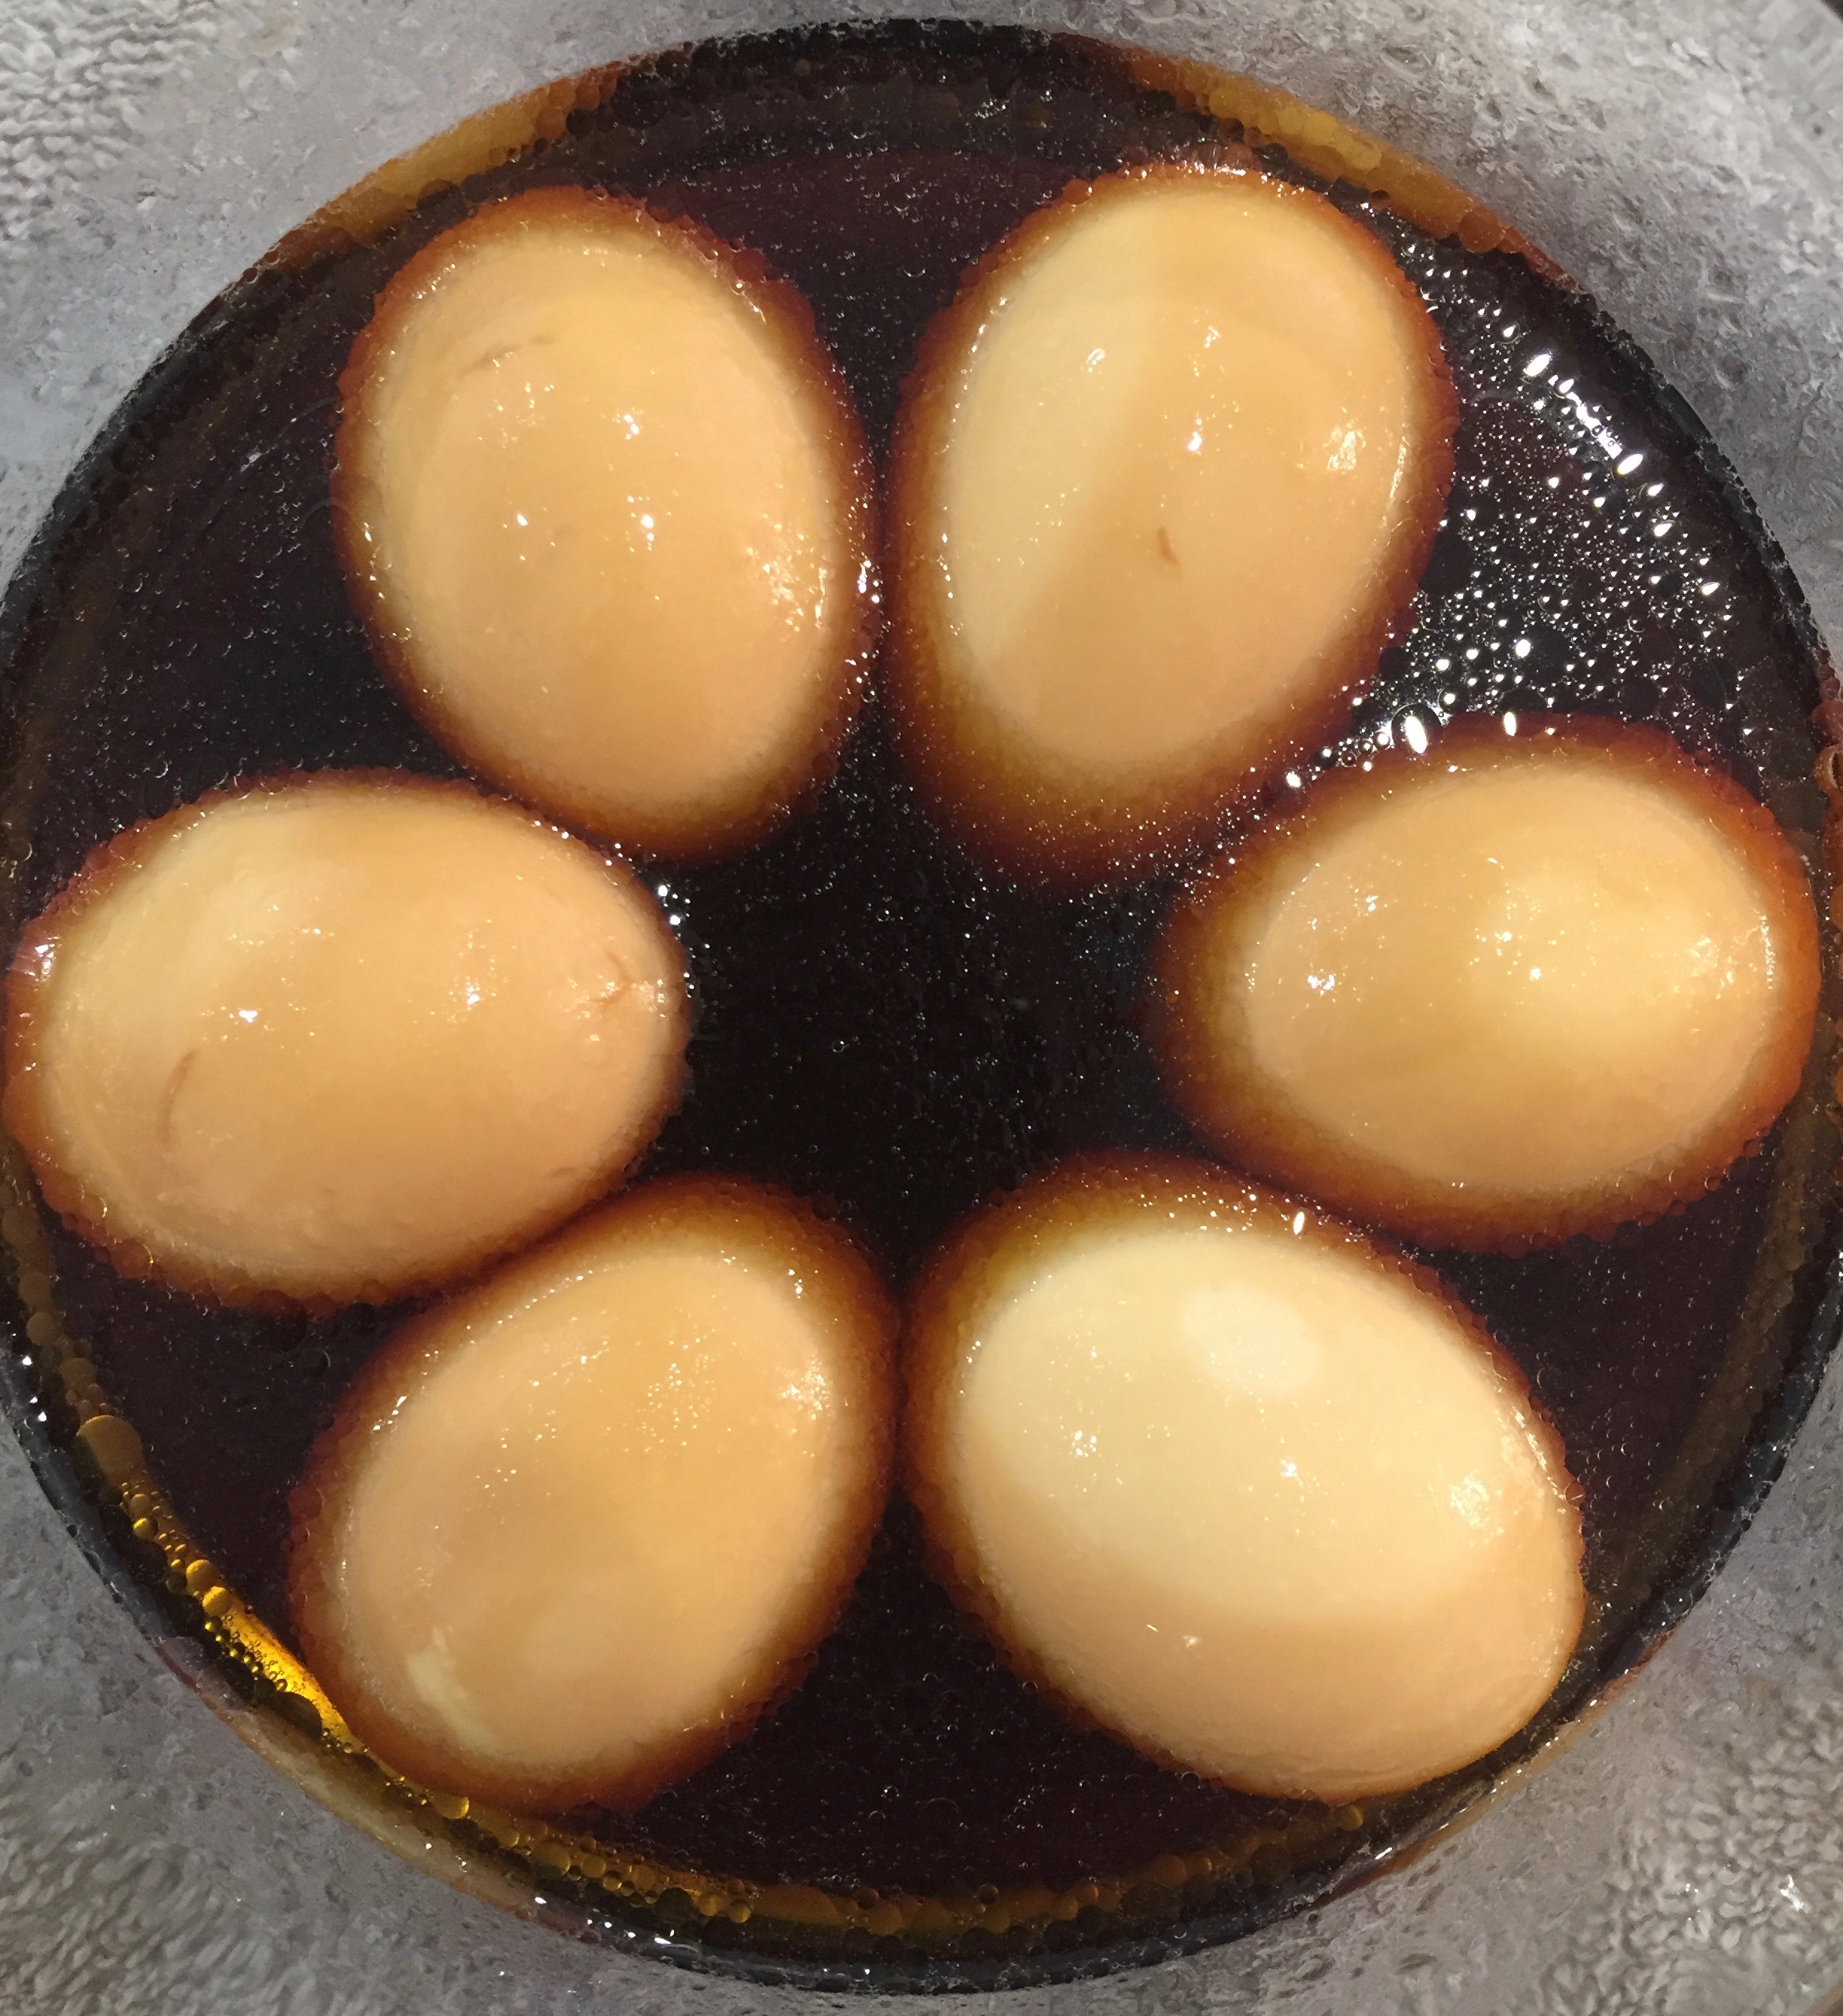
Eggs marinated for approximately 24 hours
To take congee to a whole new level, try topping with my Sweet Soy Marinated Soft-Boiled Eggs. These are the type of eggs served at ramen restaurants. They are so flavor-rich you may never again be satisfied by a plain hard-boiled egg. They're simple to make and sure to impress.
What makes these eggs special is the rich consistency of the yolk after the eggs have marinated (brined?). Even when the yolks are left soft or "runny" they eventually take on a silky smooth thickened viscosity that is stunningly rich in flavor. We love eggs prepared all ways but nothing comes close to these.
Ingredients (for 6 eggs):
6 eggs
1/4 cup soy sauce
1/8 cup seasoned rice vinegar (sushi vinegar)
1/4 cup white wine
1/4 cup water
3 T Sugar
1 tsp Sesame oil
white vinegar (optional)
Adjust the ratios of the brine ingredients to your preference. Some people like sweeter eggs while others prefer more of the pickled/vinegar flavor. Ideally the eggs can be marinated overnight or even several days in advance. However, they are still delicious if they only marinate as long as it takes to make your congee (e.g. 2 hours).
Step 1. Prepare brine by combining all ingredients (except white vinegar) and stirring until sugar is dissolved.
Step 2. Choose a pot large enough to easily accommodate the number of eggs in your batch. Whenever making hard-boiled or soft-boiled eggs, use enough water so that the eggs can roll around freely. Bring the water to a rolling boil. To make peeling shells easier, add 1 T of white vinegar for every 4 cups of water.**
Step 3. Use a slotted spoon to gently place the eggs into the boiling water. Work quickly but carefully so that all eggs are boiling for nearly the same length of time. Start a timer for 5 minutes and 45 seconds (see note below). Hold the water temperature at a light simmer. Use the spoon to roll the eggs in the water a few times during the first couple minutes so the whites are evenly distributed in the shell without flat spots.
Important note about cooking times: 5:45 will generally yield a yolk that is slightly thickened and has a gooey center. If you like a thicker yolk boil for 6 minutes or 6:15. If you prefer a runny yolk, boil for 5:00 or 5:30. Keep in mind that your perfect cooking time will vary depending on how vigorous your boil, the size of the eggs, and whether or not they were refrigerated. I'd suggest testing a few eggs cooked at various times before making a large batch. We don't refrigerate the eggs from our hens so we only boil the eggs for 5:30, preferring a runny yolk. However, the less time they are cooked the more difficult they are to peel.**
Step 4. While eggs are boiling, prepare an ice bath (ice cubes and water) in a bowl large enough to accommodate all eggs.
Step 5. When the time is up, immediately remove the pot from the flame and spoon the eggs into ice bath. Peel them as soon as they've cooled. Crack the shell gently as the eggs will be fragile because the yolks are soft. **Eggs will peel easier if you peel them while they're submerged in the cold water.
Step 6. Place the peeled eggs in the brine. If marinating overnight, place eggs in refrigerator. For even coloring of egg whites, turn eggs occasionally in the brine. The longer they stay in the brine the darker and more flavorful they will become. I prefer to let eggs sit at room temperature for an hour before serving. They can also be bathed in warm water for 5-10 minutes.